Taking screenshots inWindows 11 is easier than ever! In addition to the classic Print Screen key (PrtScn), the operating system offers numerous convenient options for saving, editing, and even recording screenshots. Here are the 7 best methods you should know.
1. Use the Print Screen key (PrtScn) and Insert
Press the Print Screen key on your keyboard to copy a screenshot of the entire screen to the clipboard. Then open an editing program like Paint or Photoshop and paste the screenshot using Ctrl+V .
- Active window only: Press Alt+PrintScreen to take a screenshot of the currently active window. Paste it into an editing program as well.

Tip: You can change the behavior of the Print Screen key by going to Settings > Accessibility > Keyboard and unchecking the “Use the Print Screen key to open the Snipping Tool” option.
2. Enable PrtScn automation with OneDrive
Connect OneDrive to automatically save your screenshots. Go to OneDrive Settings > Backup and turn on "Save screenshots I take to OneDrive." Images will be saved directly to the Pictures/Screenshots folder.

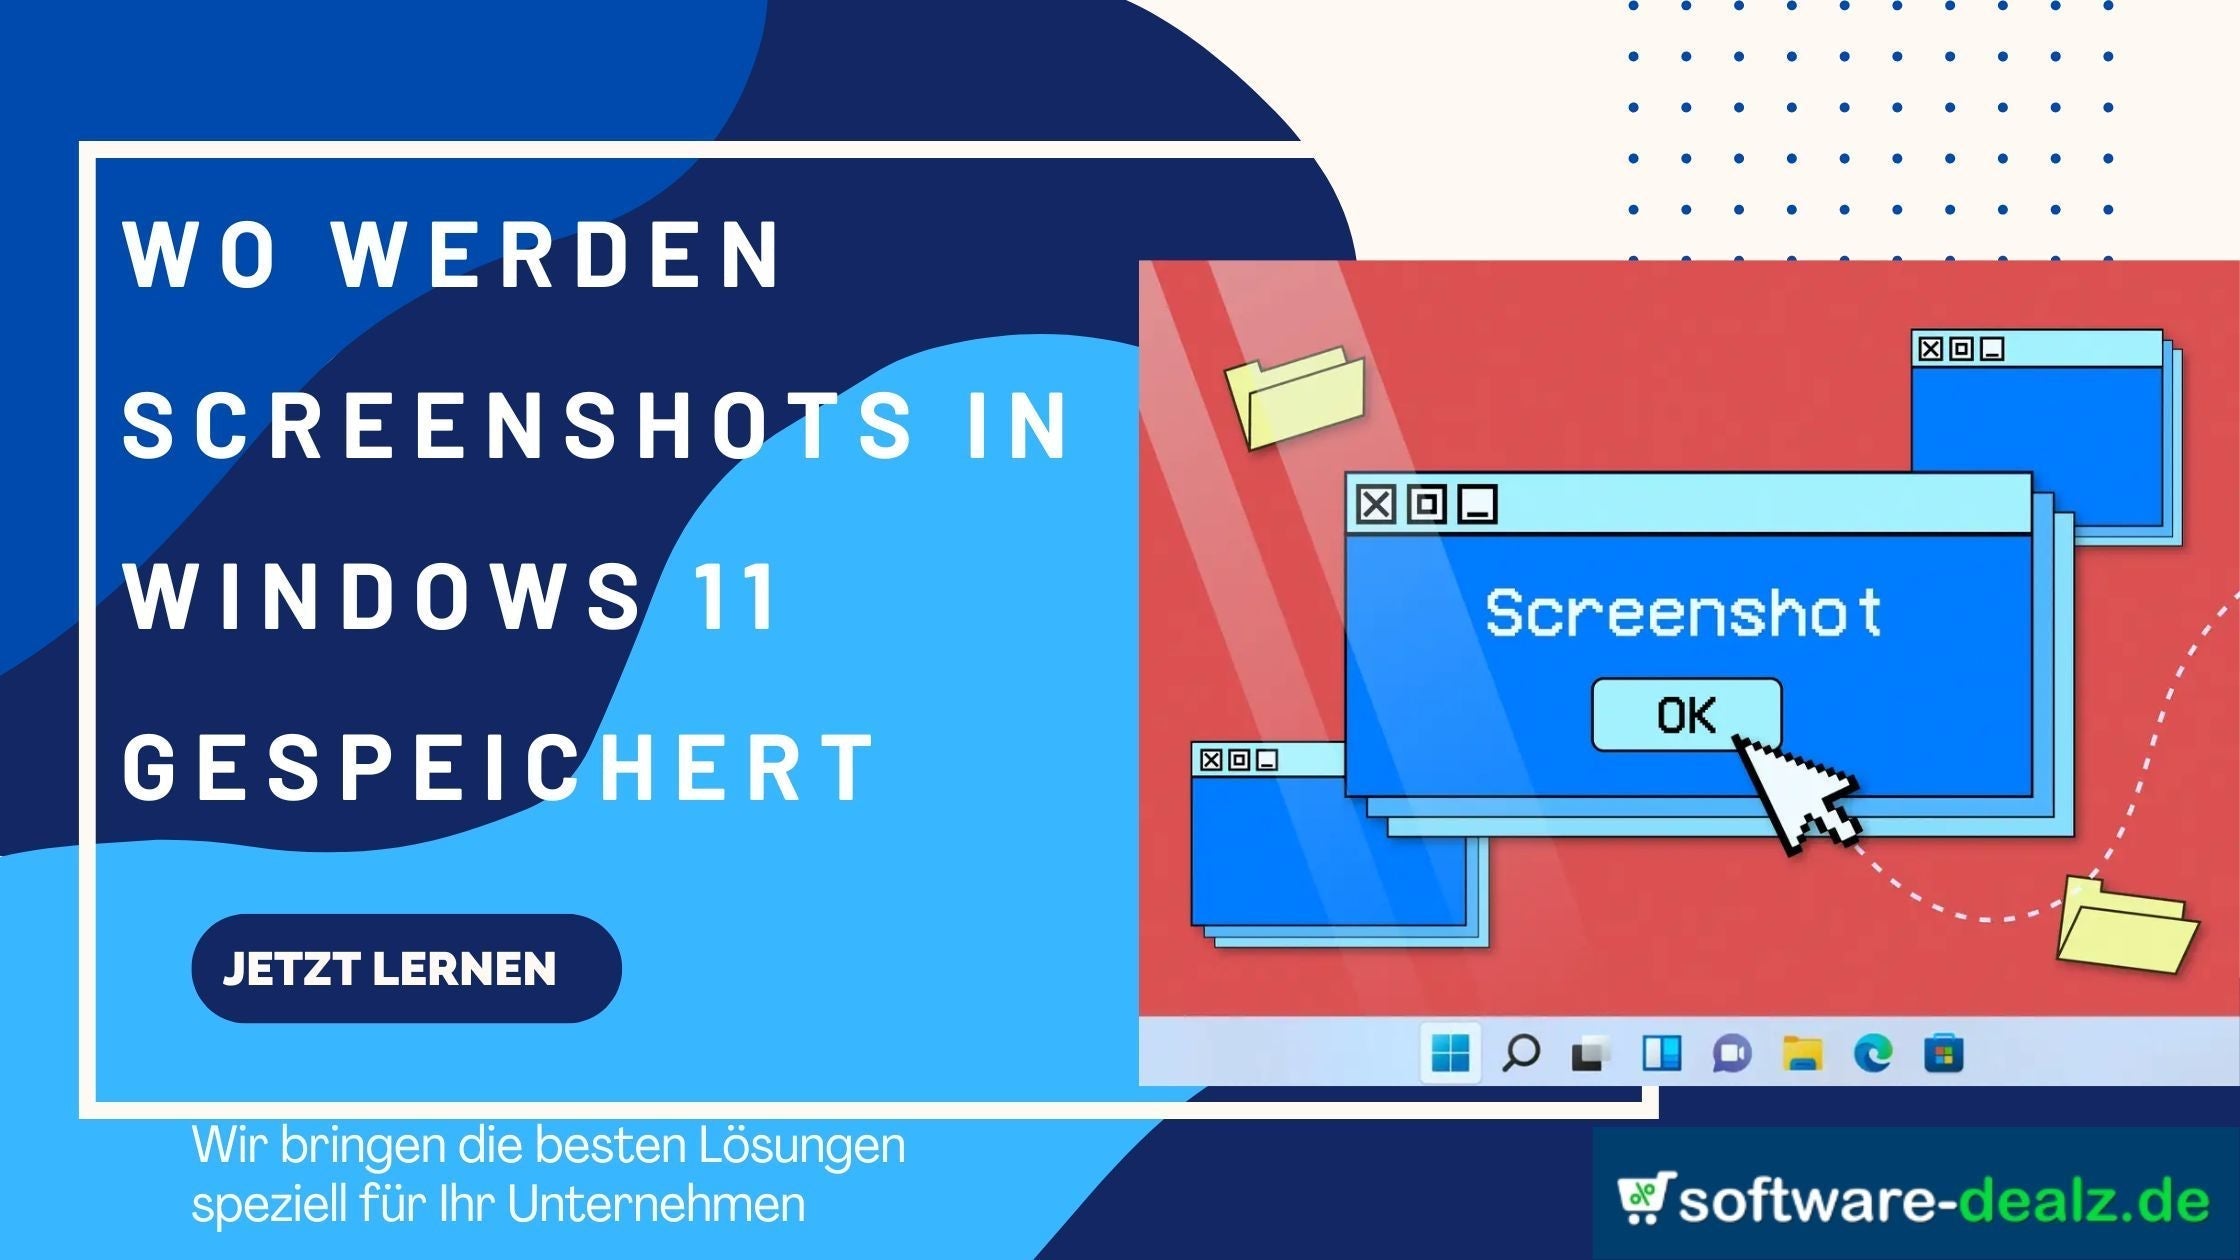
3. Windows key + PrtScn
Use Windows + PrtScn to automatically save screenshots to your PC. The screen will flash briefly, and the image will be saved as a PNG file in the Pictures > Screenshots folder.

4. Windows Key + Shift + S & Snipping Tool
Press Windows + Shift + S to launch the Snipping Tool . Choose between Rectangular Snipping , Freehand Selection , Window Selection , and Full Screen Capture . After selection, the image is saved to the clipboard .

5. Game Bar (Windows + G)
Press Windows + G to open the Game Bar . Click the camera icon in the capture window to take a screenshot. Images will be saved in the Videos/Captures folder.

6. Use third-party tools
Consider SnagIt or Greenshot if you need advanced features like scrolling screenshots or autosave . Microsoft Edge supports webpage screenshots with the Web Capture option.

7. Take screenshots on Surface tablets
On Surface tablets, you can press the Volume Up + Power buttons simultaneously to take a screenshot. The file will be automatically saved in the Pictures/Screenshots folder.

Important NOTE
If you take screenshots regularly, enable the clipboard history feature with Windows + V to easily retrieve recently taken images.
Summary: Whether you need images for presentations , reports , or personal notes , Windows 11 offers numerous options for screenshots and screen recordings .
Try it out and boost your productivity! Visit our website Software-Dealz for more helpful guides and software solutions.
